Grasping the Science Behind The Rain Gauge: Insights and Innovations Introduced
Grasping the Science Behind The Rain Gauge: Insights and Innovations Introduced
Blog Article
DIY Rainfall Gauge: Straightforward Steps to Make Your Own
Creating your own DIY rain gauge is a straightforward and reliable method to videotape and measure precipitation. With just a few common materials and some fundamental steps, you can quickly build your own rainfall scale at home. Allow's obtain begun on making your DIY rain gauge today!
Gather Materials
To begin creating your Do it yourself rainfall gauge, collect all the necessary materials making use of an extensive checklist of items. Having the ideal materials on hand will make certain the successful production of your rain gauge and permit for precise dimensions of rains. Gathering these products ahead of time will enhance the construction process and make sure that you have everything you need to develop your very own Do it yourself rainfall gauge.
Prepare the Container
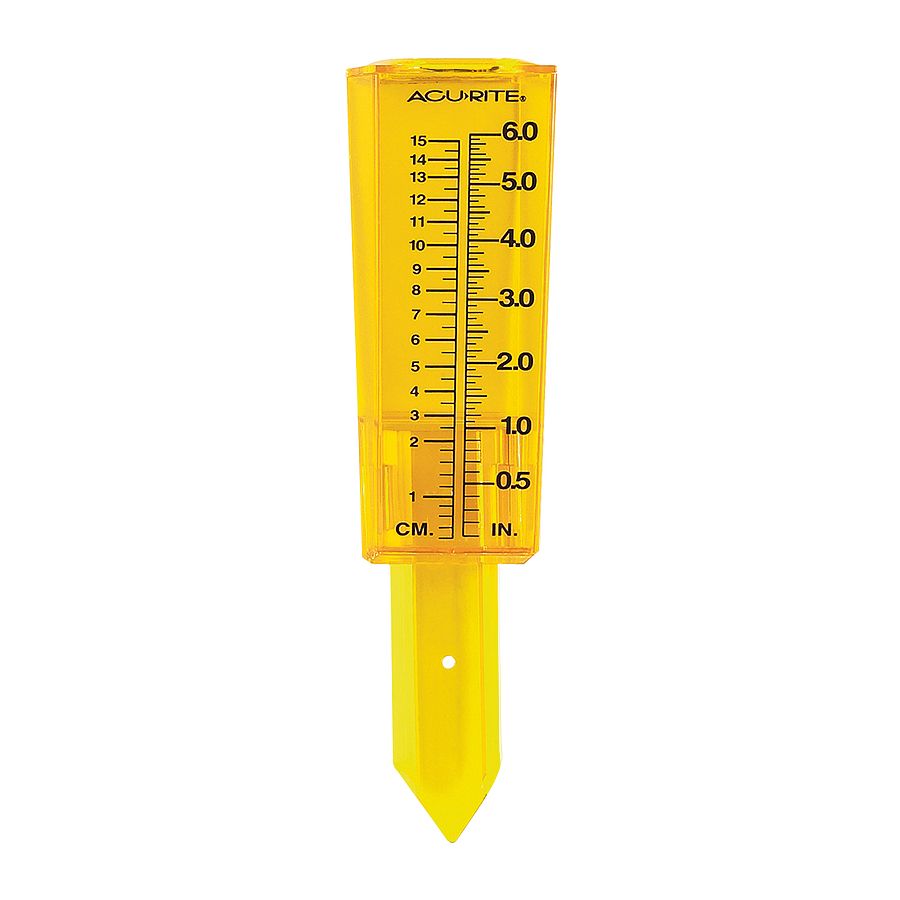
Mark the Measurement Increments
To accurately determine the quantity of rains, accurately marking the dimension increments on your do it yourself rainfall gauge is vital. Without clear and specific markings, it would certainly be hard to determine the exact amount of rainfall accumulated in your rain scale. Here are the steps to mark the measurement increments on your rain scale.
First, choose the device of dimension that you wish to utilize. The most common systems for determining rains are inches and millimeters. Use a long-term marker or water-proof paint to mark the increments on the side of your rainfall gauge once you have actually selected the device. For inches, you can mark every quarter inch or every half inch, depending on your preference. For millimeters, you can mark every 10 millimeters or every 20 millimeters.
When marking the increments, it is essential to ensure that they are uniformly spaced and clearly visible. Use a ruler or gauging tape to ensure accuracy and uniformity. Furthermore, make certain that the markings are immune company website to fading or abrading, as exposure to the elements may trigger them to degrade with time.
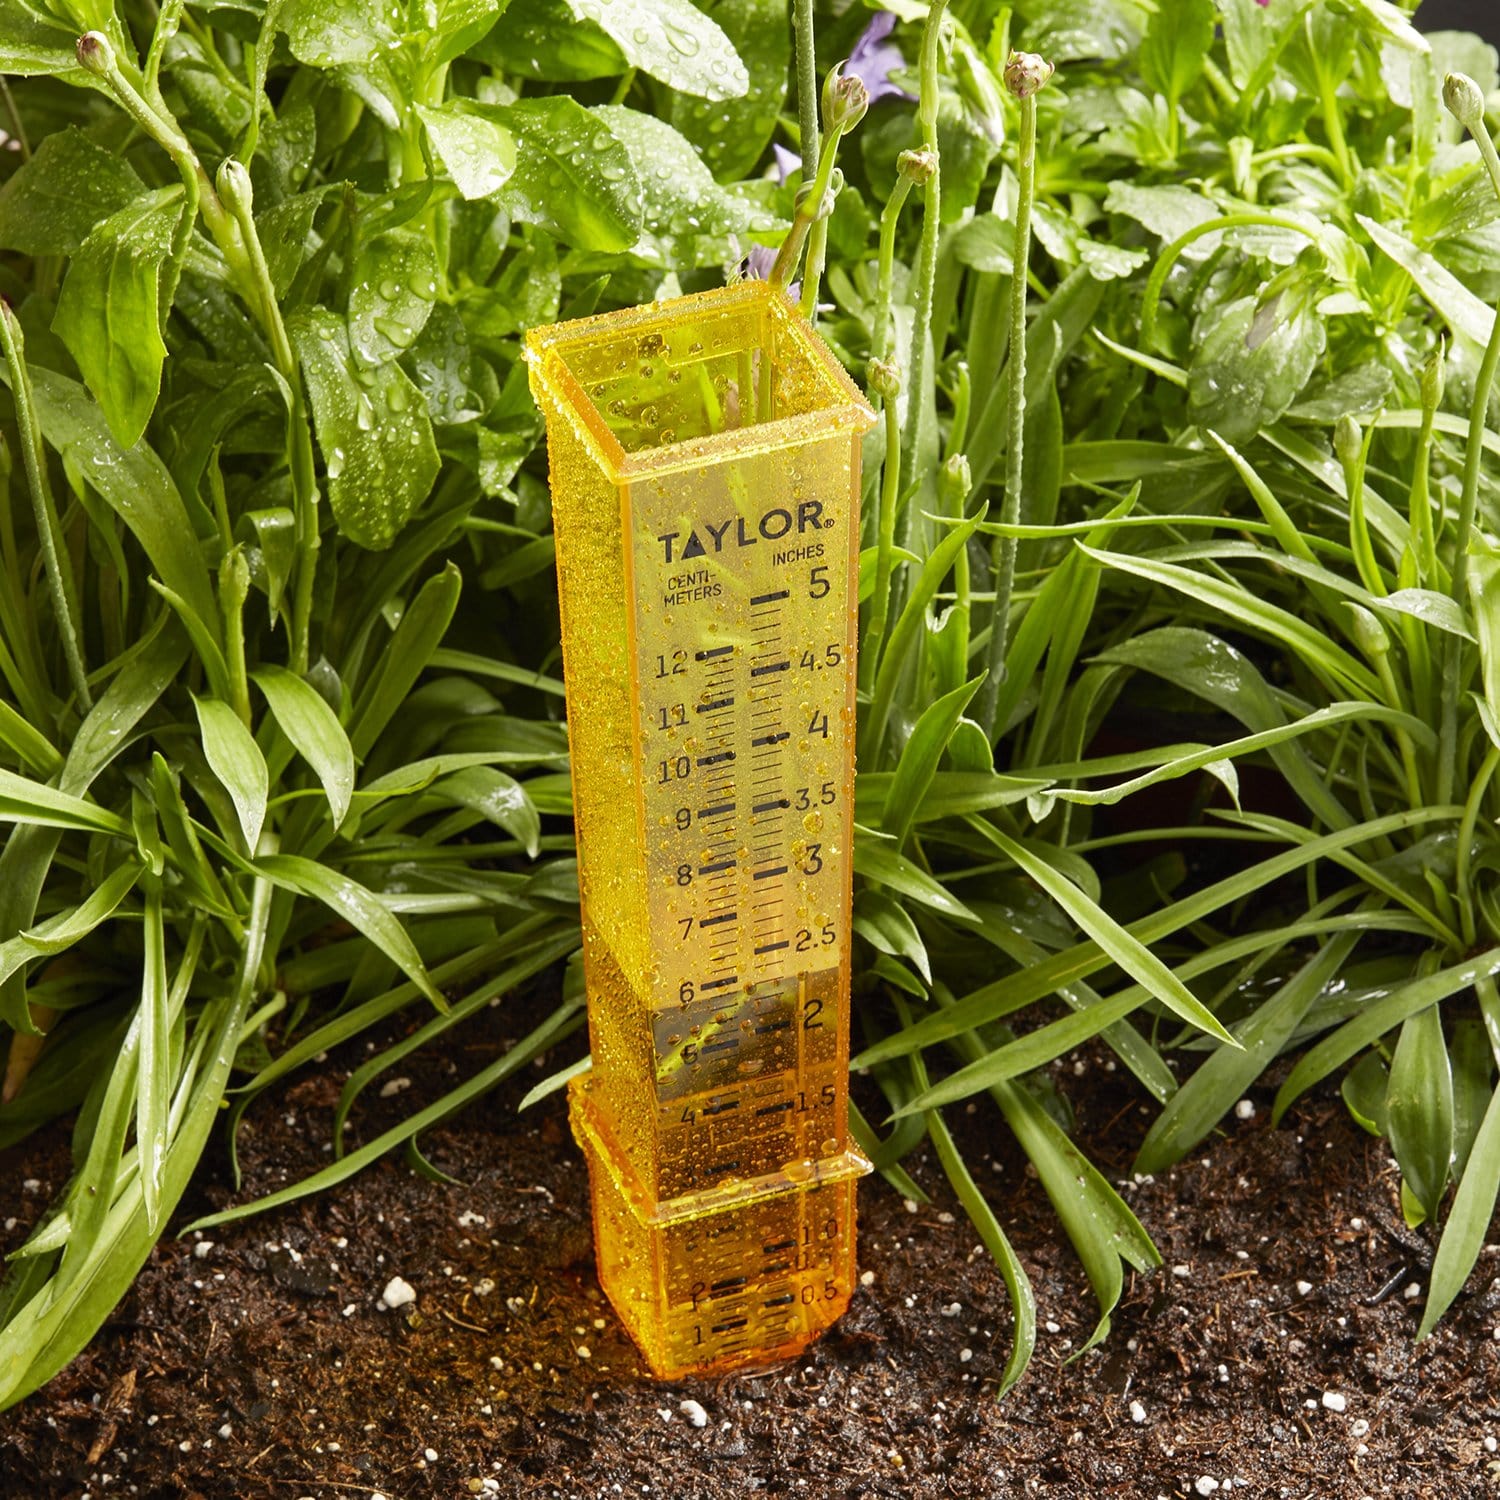
Place the Rain Gauge Outdoors
The rainfall gauge ought to visit homepage be placed outdoors to accurately collect rains information. The place selected for the rain gauge need to be open and cost-free from any kind of obstructions that could potentially influence the dimension of rainfall. The Rain Gauge.
Additionally, it is essential to position the rainfall scale on a steady surface, such as a degree ground or a strong article. This will stop any movement or tilting of the scale, which might result in incorrect measurements. It is also recommended to prevent putting the gauge near any kind of sources of artificial water, such as sprinklers or water drainage systems, as this might conflict with the precision of the measurements.
Display and Record Rainfall Information
Normal tracking and recording of rains data is crucial for precise information analysis and analysis. By maintaining track of rains measurements, you can gain useful understandings right into weather patterns, environment trends, and water source management. To properly keep track of and record rainfall information, it is essential to develop a routine and keep consistent methods.
Firstly, make sure that your rainfall gauge is placed in an open location away from challenges such as trees or structures that may block rains. In addition, see to view publisher site it the rain gauge is degree and safely secured to prevent any type of activity that can influence the accuracy of the dimensions.
When taping the rains information, it is necessary to keep in mind the day and time of each dimension. Use a ruler or a measuring stick to identify the rainfall depth in the rain gauge, and record this details precisely.

To guarantee the accuracy of the dimensions, it is advised to empty the rain gauge after each recording. This will certainly stop any type of overflow or evaporation from affecting succeeding dimensions.
Conclusion
Finally, producing a DIY rain scale is a basic and practical way to check and tape-record rains data (The Rain Gauge). By adhering to the steps outlined in this post, you can easily collect materials, prepare the container, note the measurement increments, and put the rainfall gauge outdoors. Regularly checking and tape-recording rains data can give important details for various functions
Having the right materials on hand will certainly ensure the effective production of your rain gauge and permit for precise dimensions of rains.To accurately determine the quantity of rainfall, precisely noting the dimension increments on your DIY rain scale is essential.The rain scale need to be put outdoors to properly accumulate rainfall data. The place picked for the rain gauge ought to be open and cost-free from any type of blockages that can possibly affect the measurement of rains.In final thought, creating a DIY rainfall scale is a useful and easy method to check and tape rainfall information.
Report this page